

A walkthrough of a case
This page walks the whole case screen in the order you would meet it, with a picture of each step. If you would rather have the map than the tour, Case Studio tour describes the same screen by its parts.
Every image below is from a Lexpoint demo file. Names, emails, phone numbers, and case details you see are sample data — not a client. Each screenshot carries a Demo account · sample data plate so that is visible even if the image is opened on its own.
Open your case
Section titled “Open your case”Cases lists every case on your account, newest first and grouped by year. Each row shows the case number, the case type and program, the service, the number of applications, and the status.
Select a row to open the full case.
See what needs you
Section titled “See what needs you”The case opens on an overview of what is done and what is waiting on you.
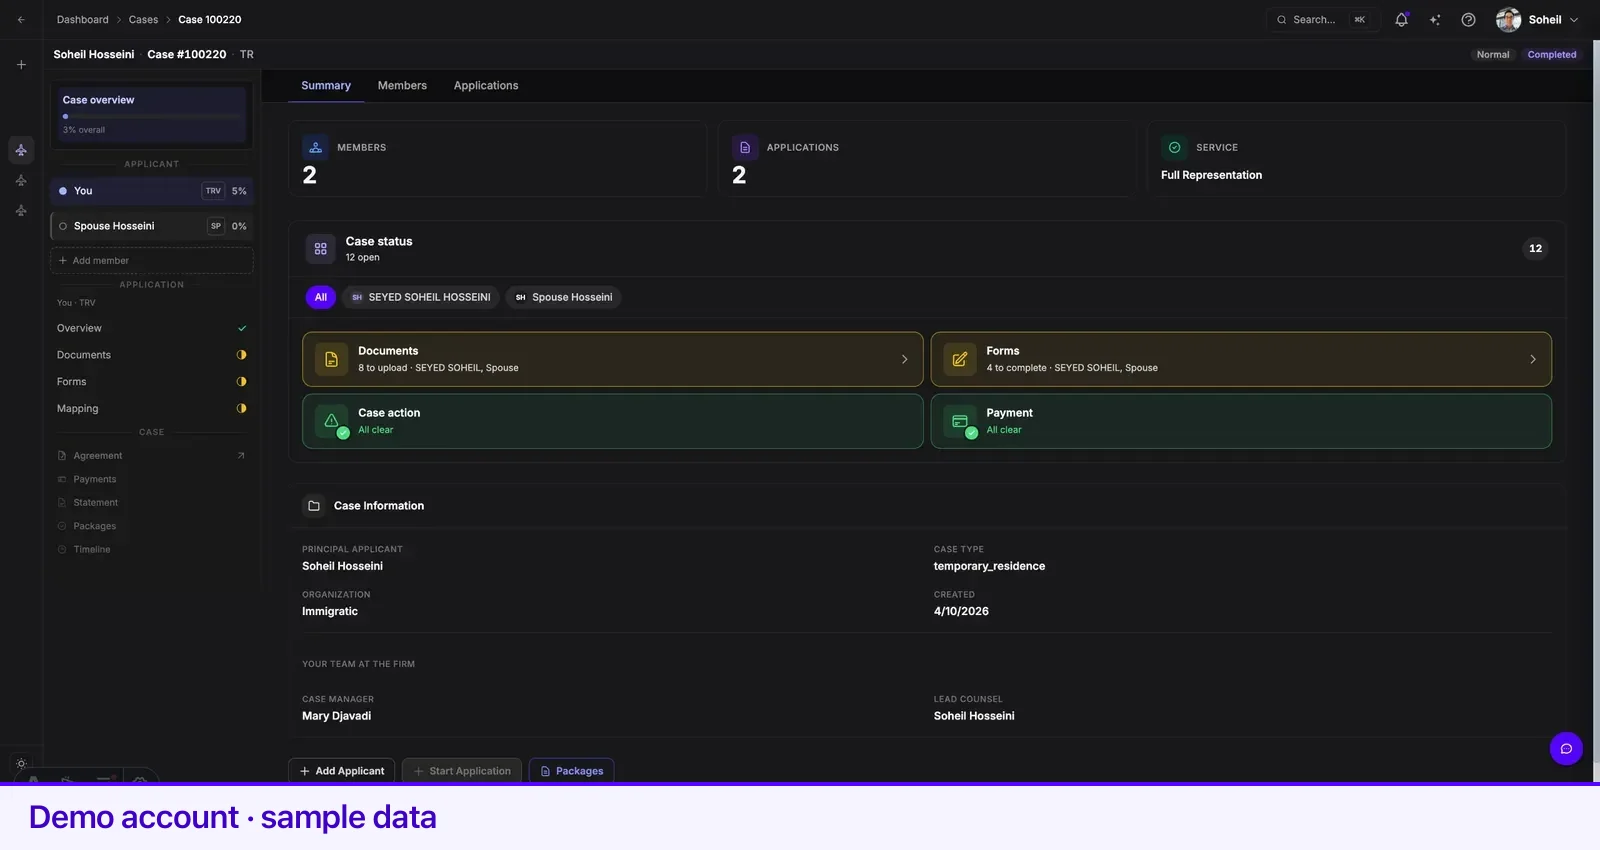
Switch between the people on the case
Section titled “Switch between the people on the case”If your case includes a spouse or children, each person has their own applications and their own requirements. Select a member in the tree to see theirs; select yourself to come back.
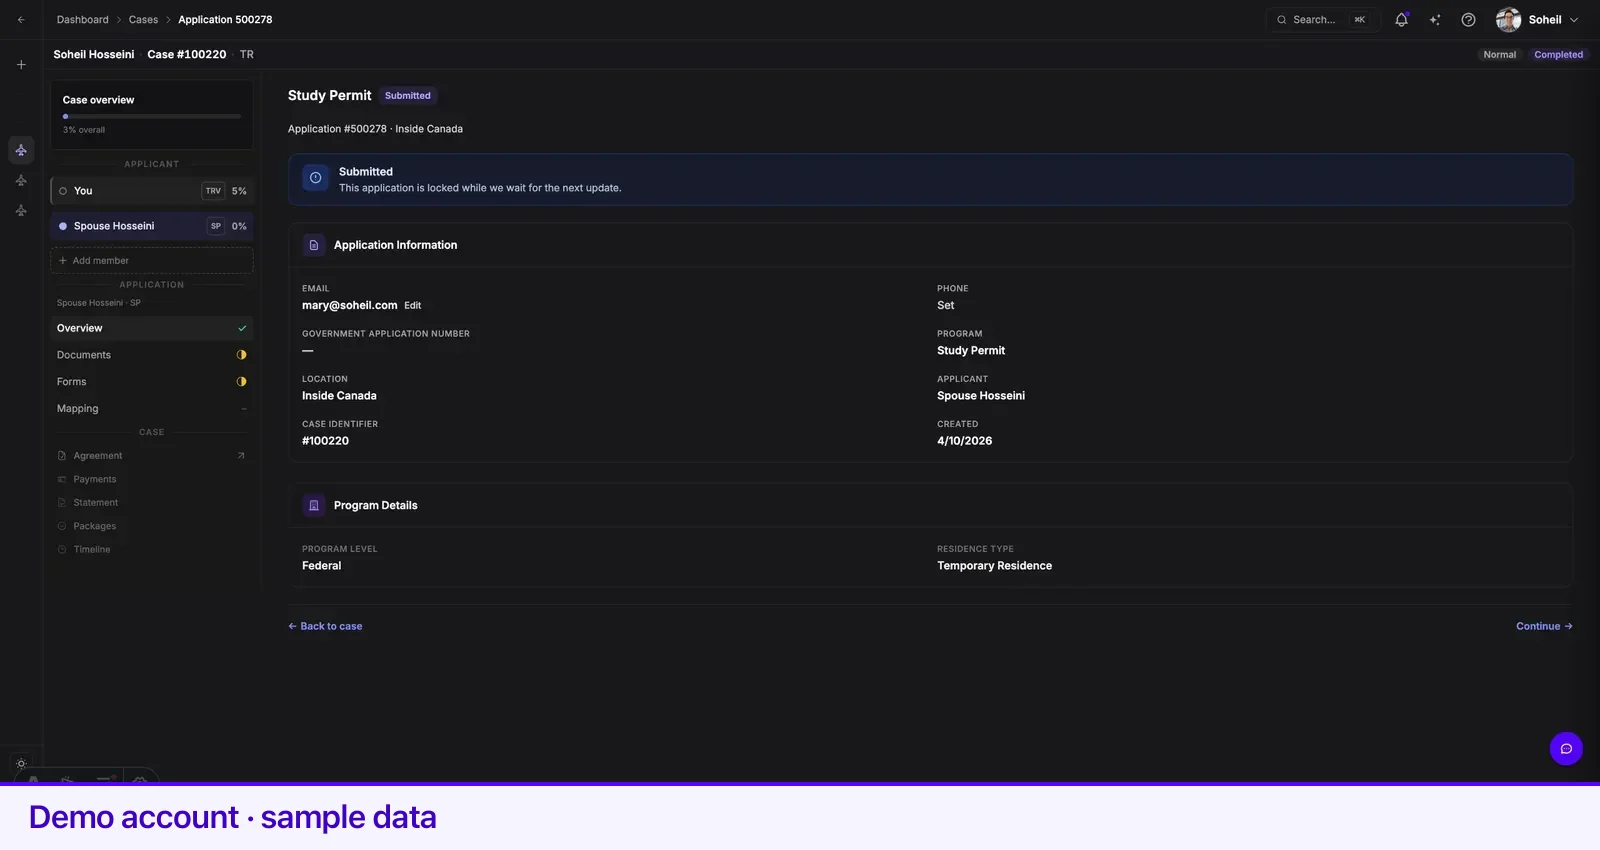
More on how one case carries several people: Family members on one case.
Documents
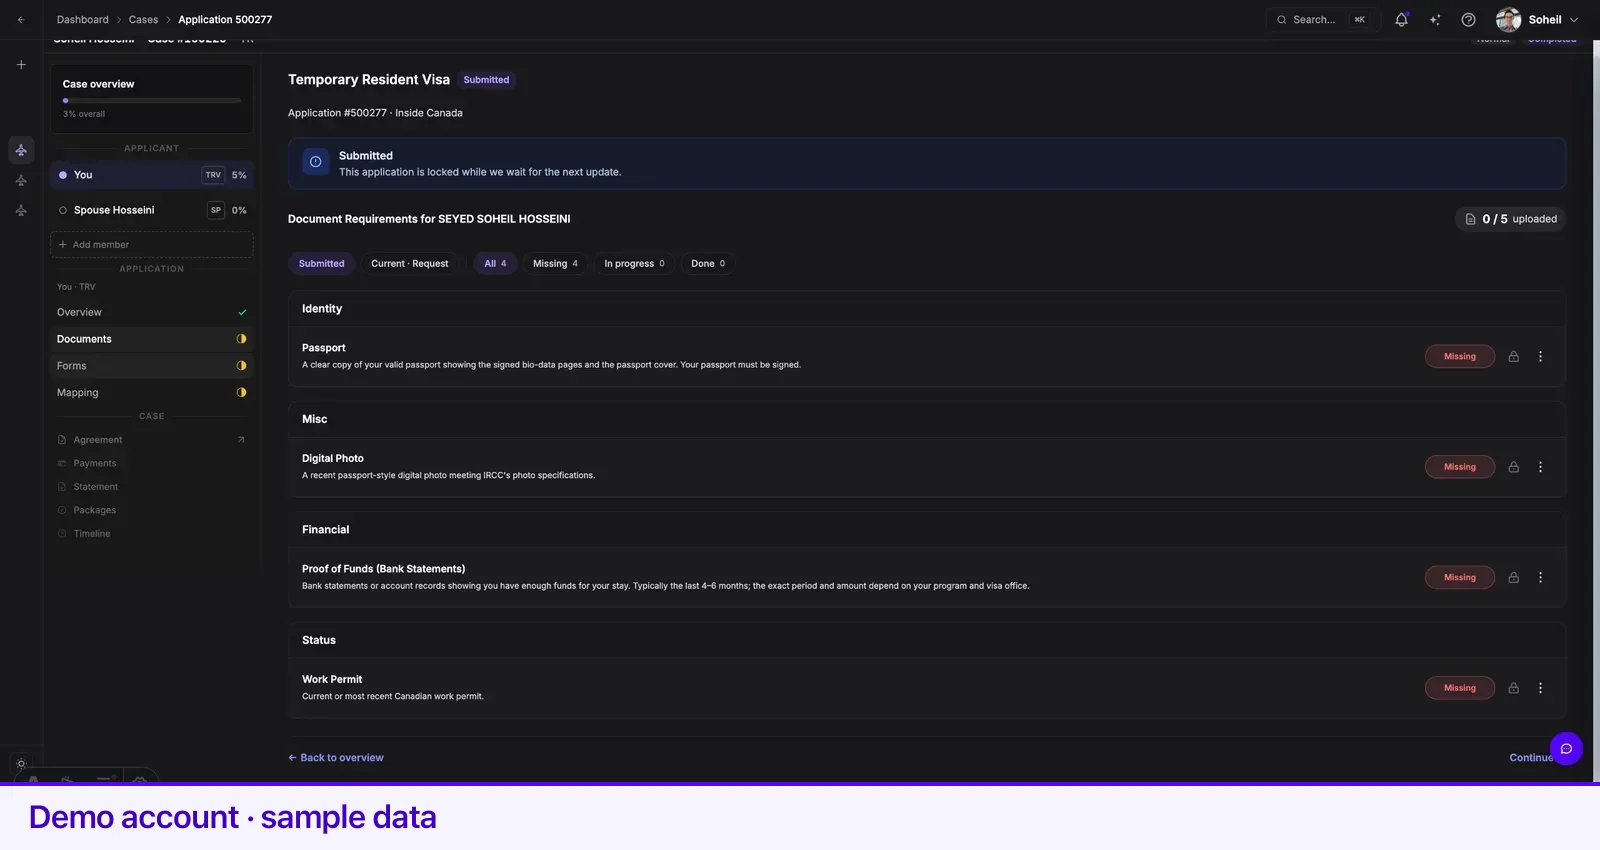
Section titled “Documents”Documents lists every requirement on the selected person’s application — what has been provided, what is still open, and what came back needing changes.
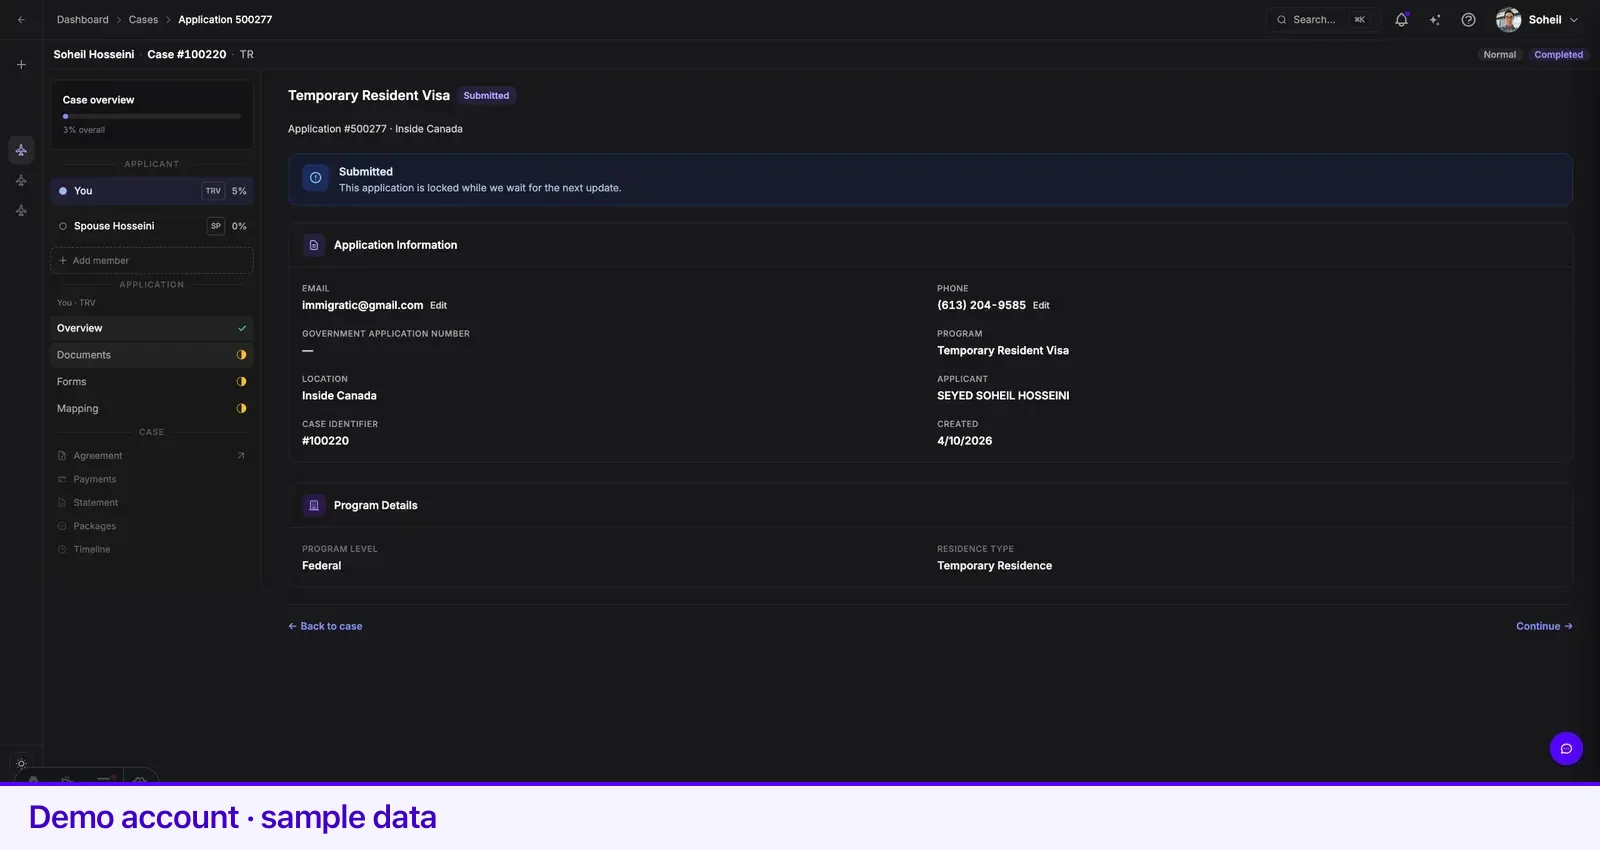
Uploading documents covers the upload itself, and Document review statuses explains what each status means.
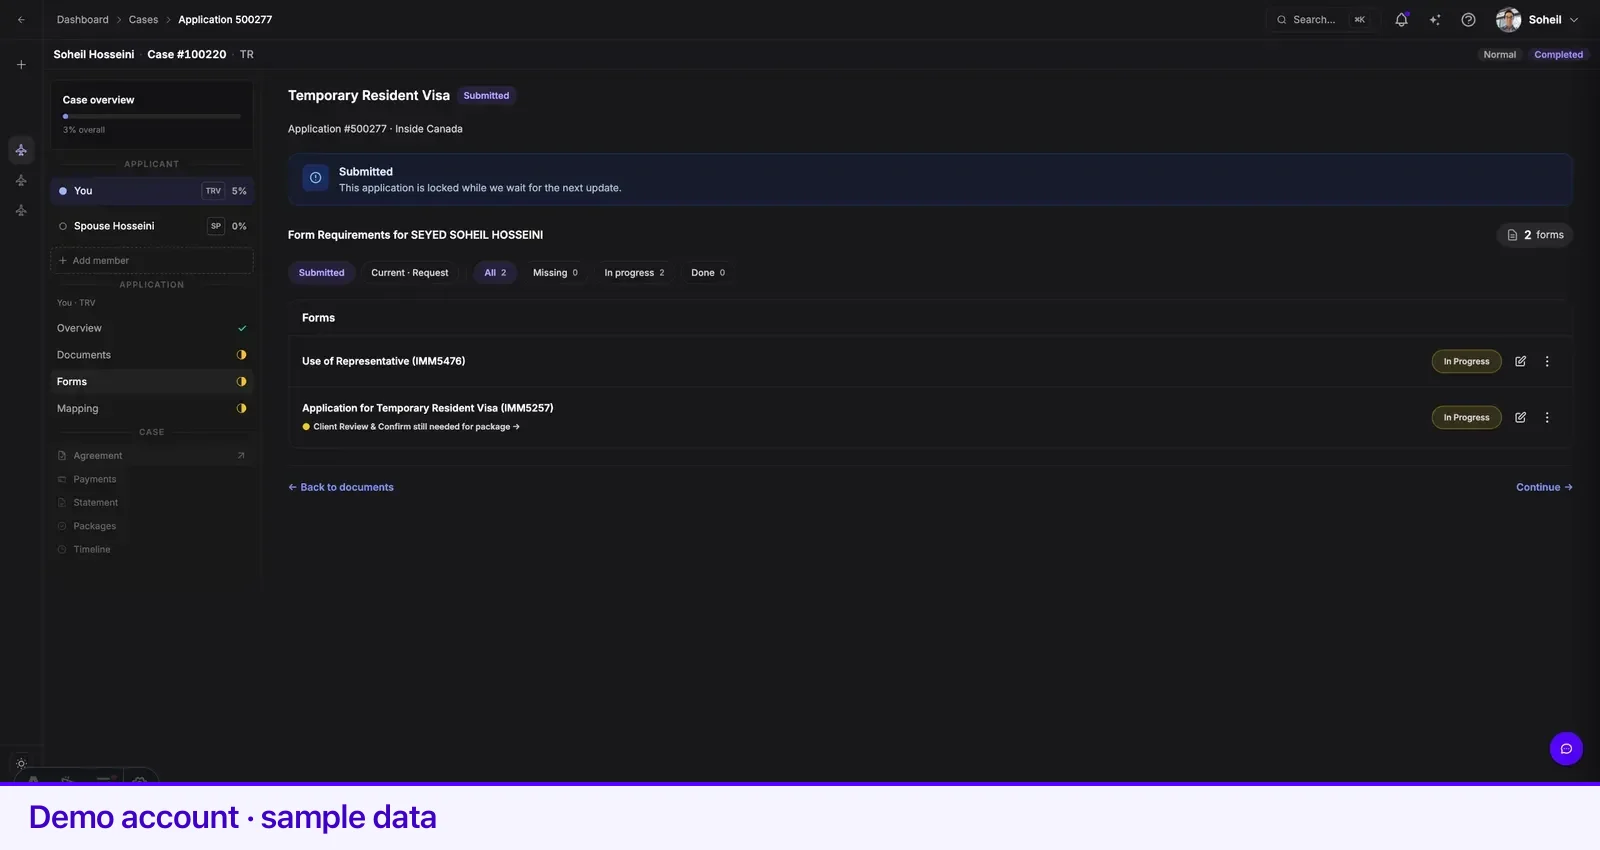
Forms holds the IRCC forms for the application. Fields Lexpoint already knows are filled in from your profile, so you are confirming and completing rather than starting from a blank form.
Detail: Applications and IRCC forms.
Payments and statement
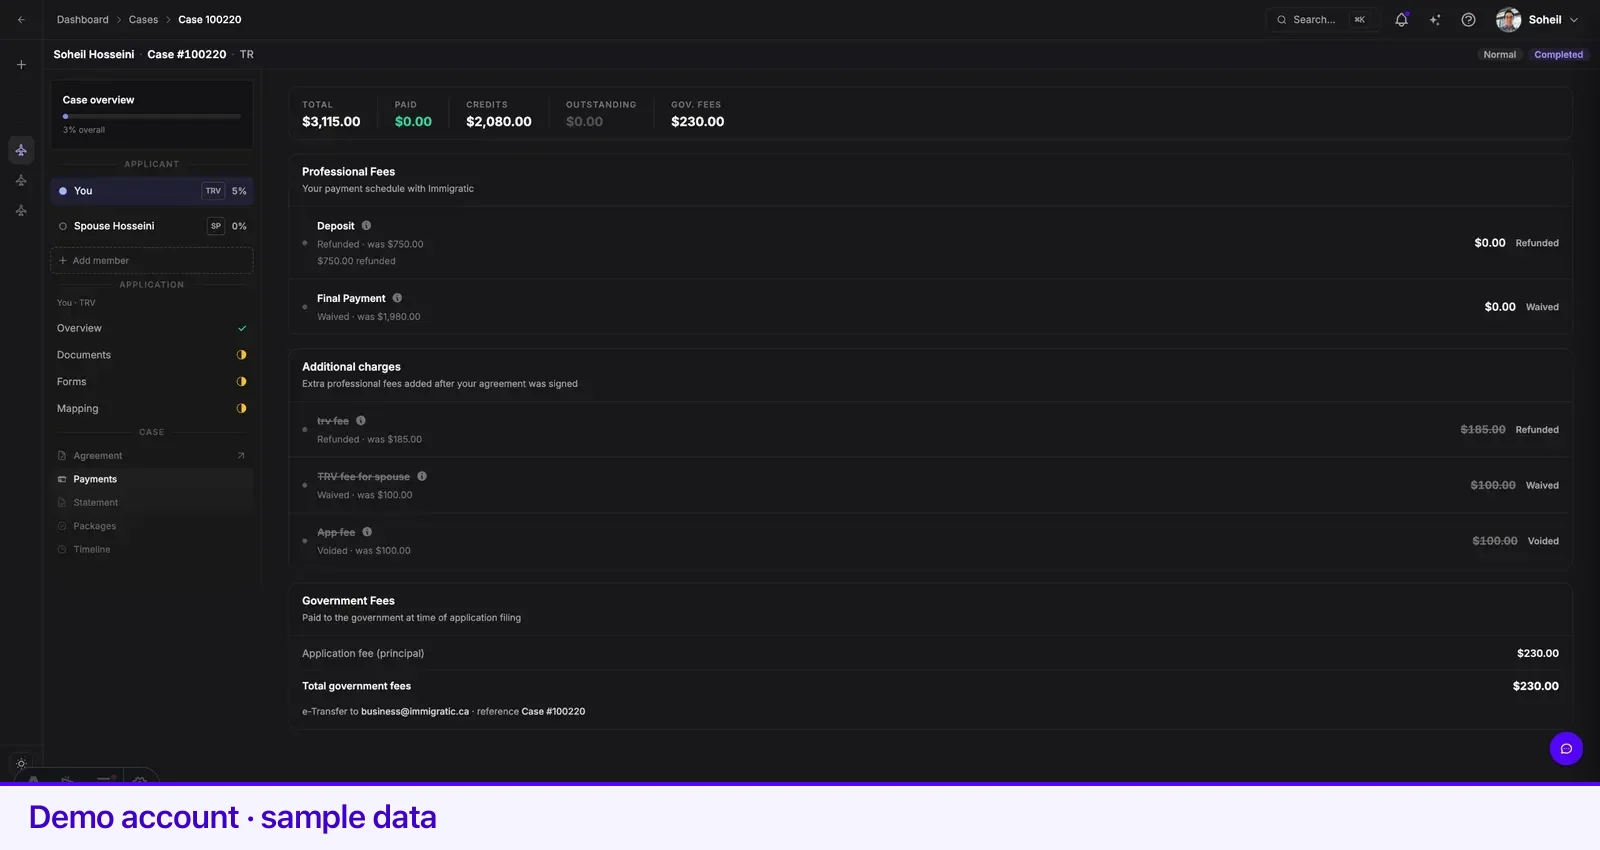
Section titled “Payments and statement”Payments shows what is due, what is paid, and what is next.
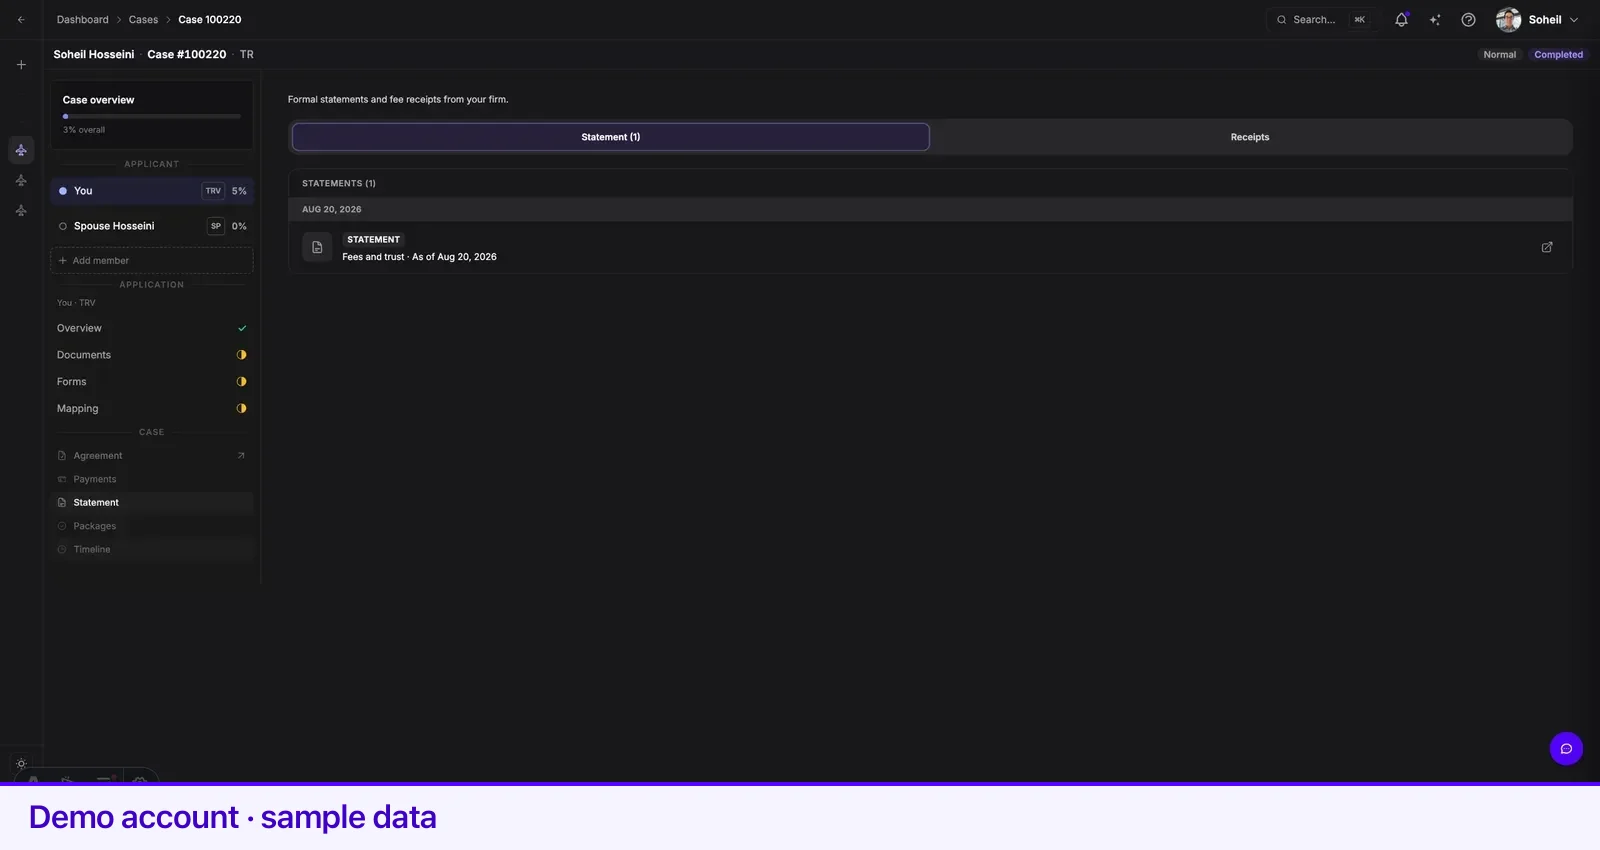
Statement is the itemised record of charges and payments on the case.
Timeline
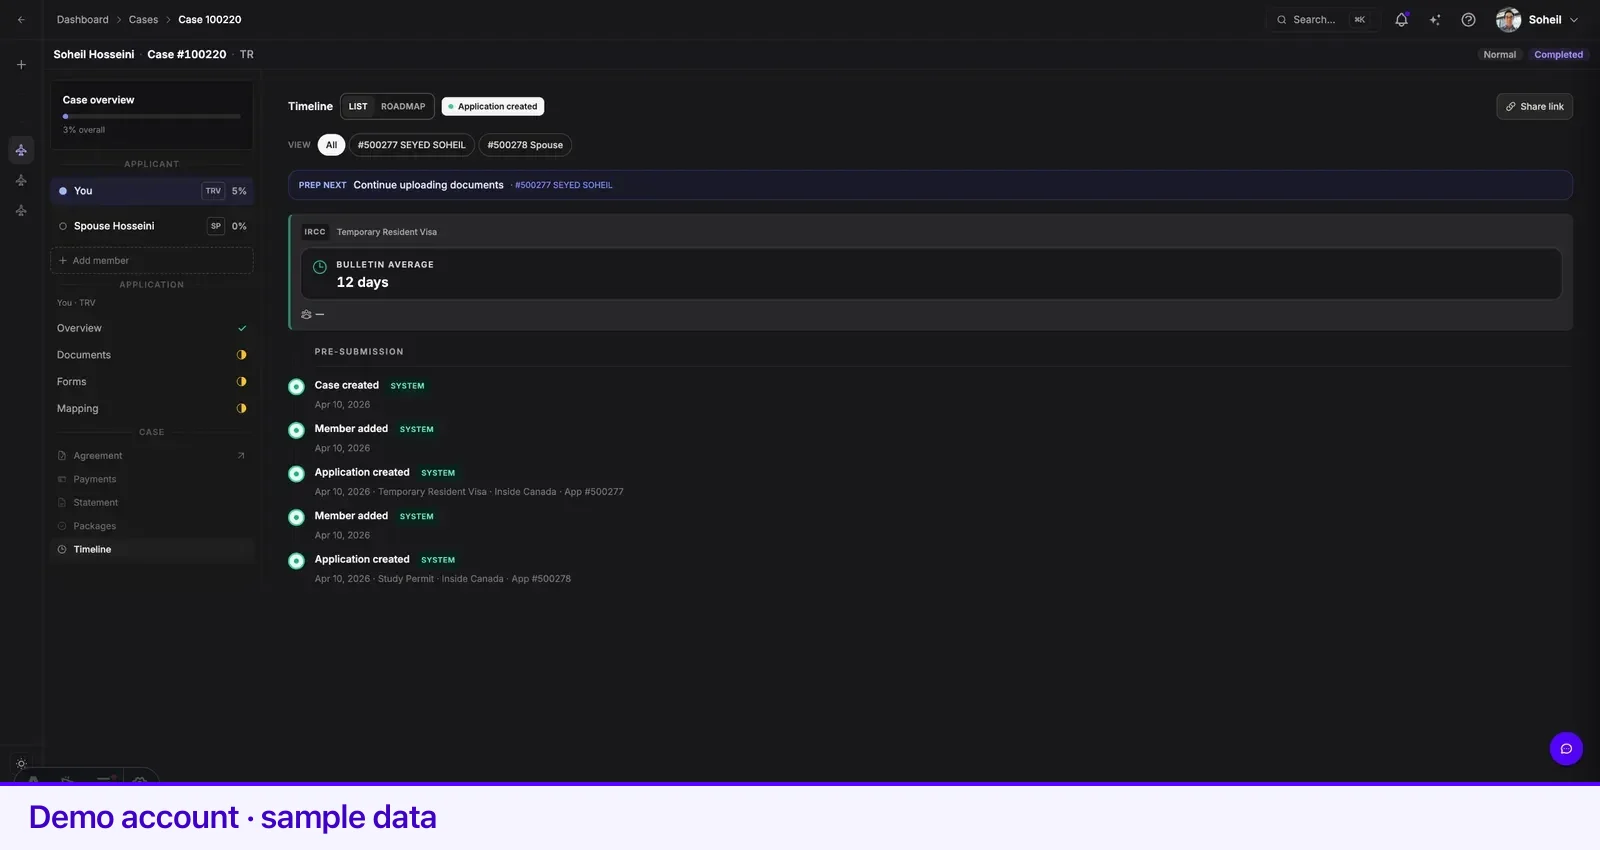
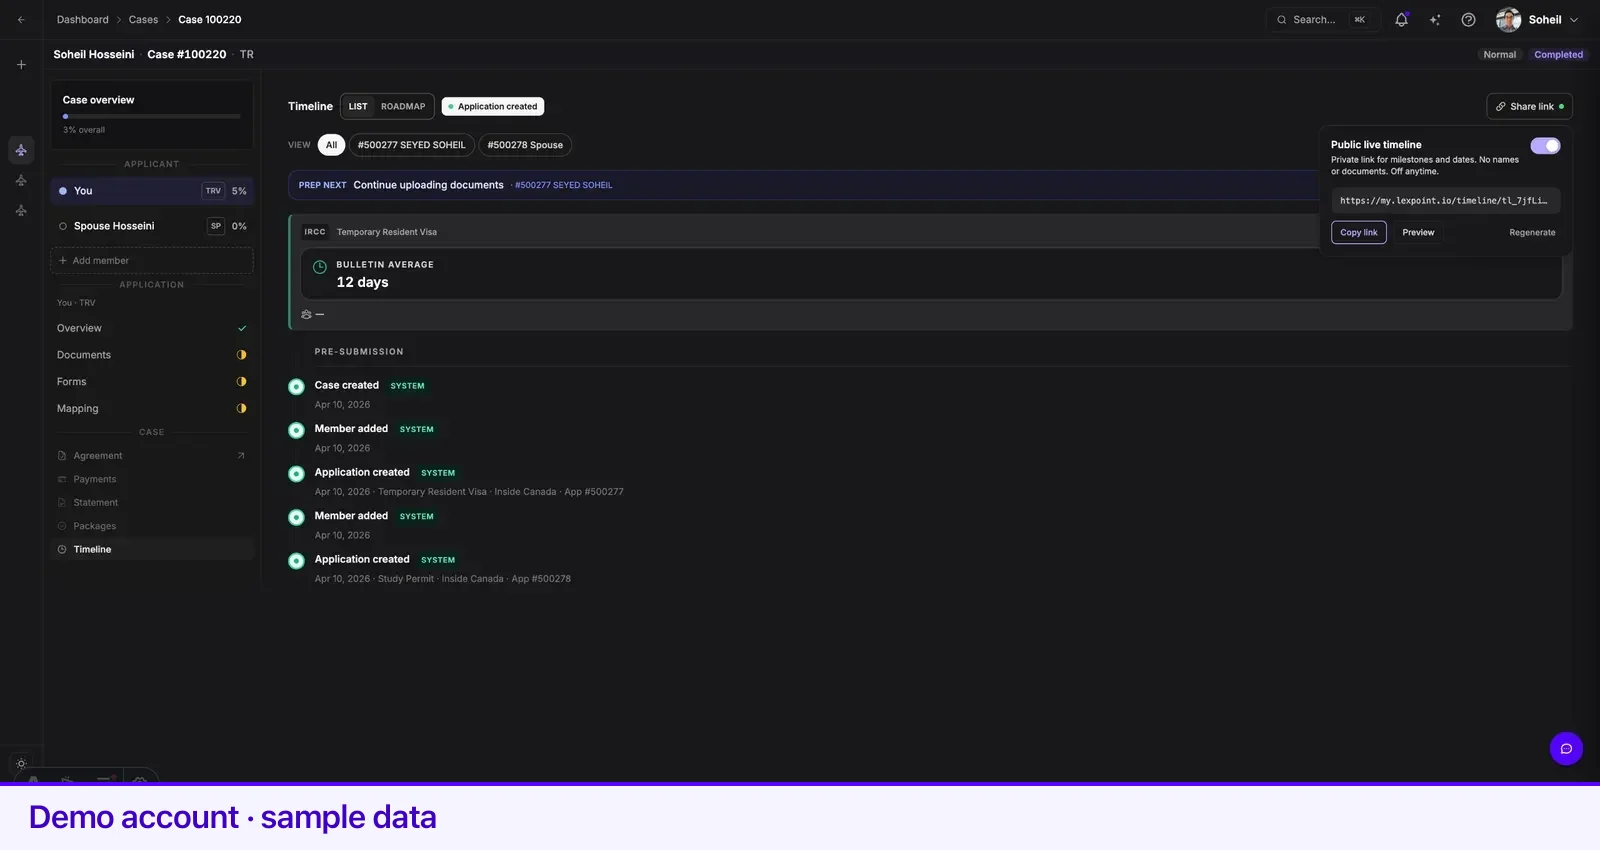
Section titled “Timeline”Timeline is every milestone on the case in order. Filter it to one application, or view everything at once.
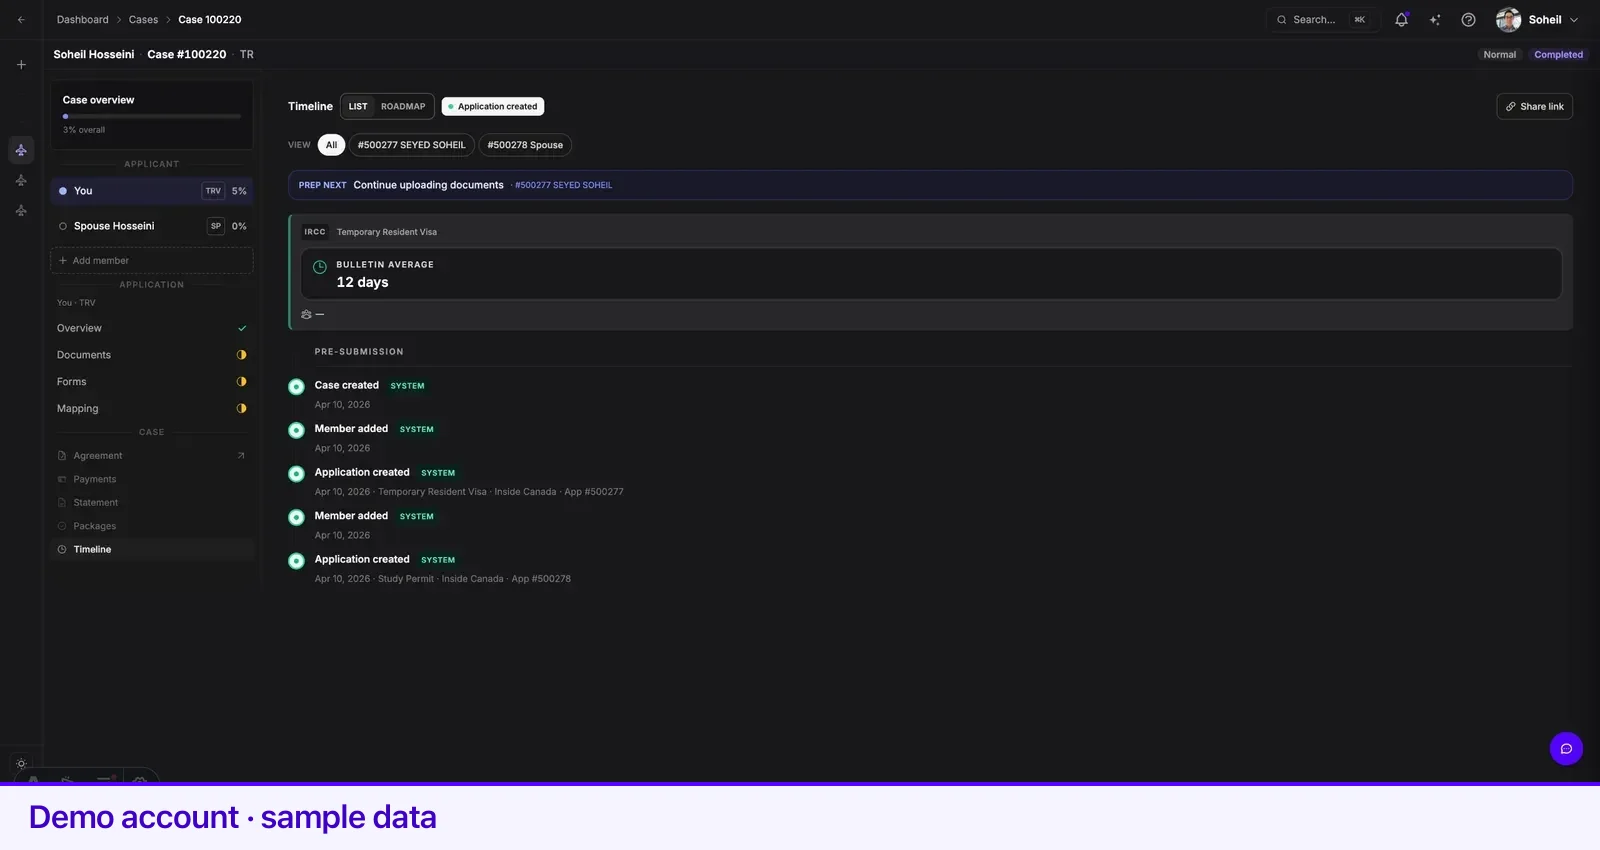
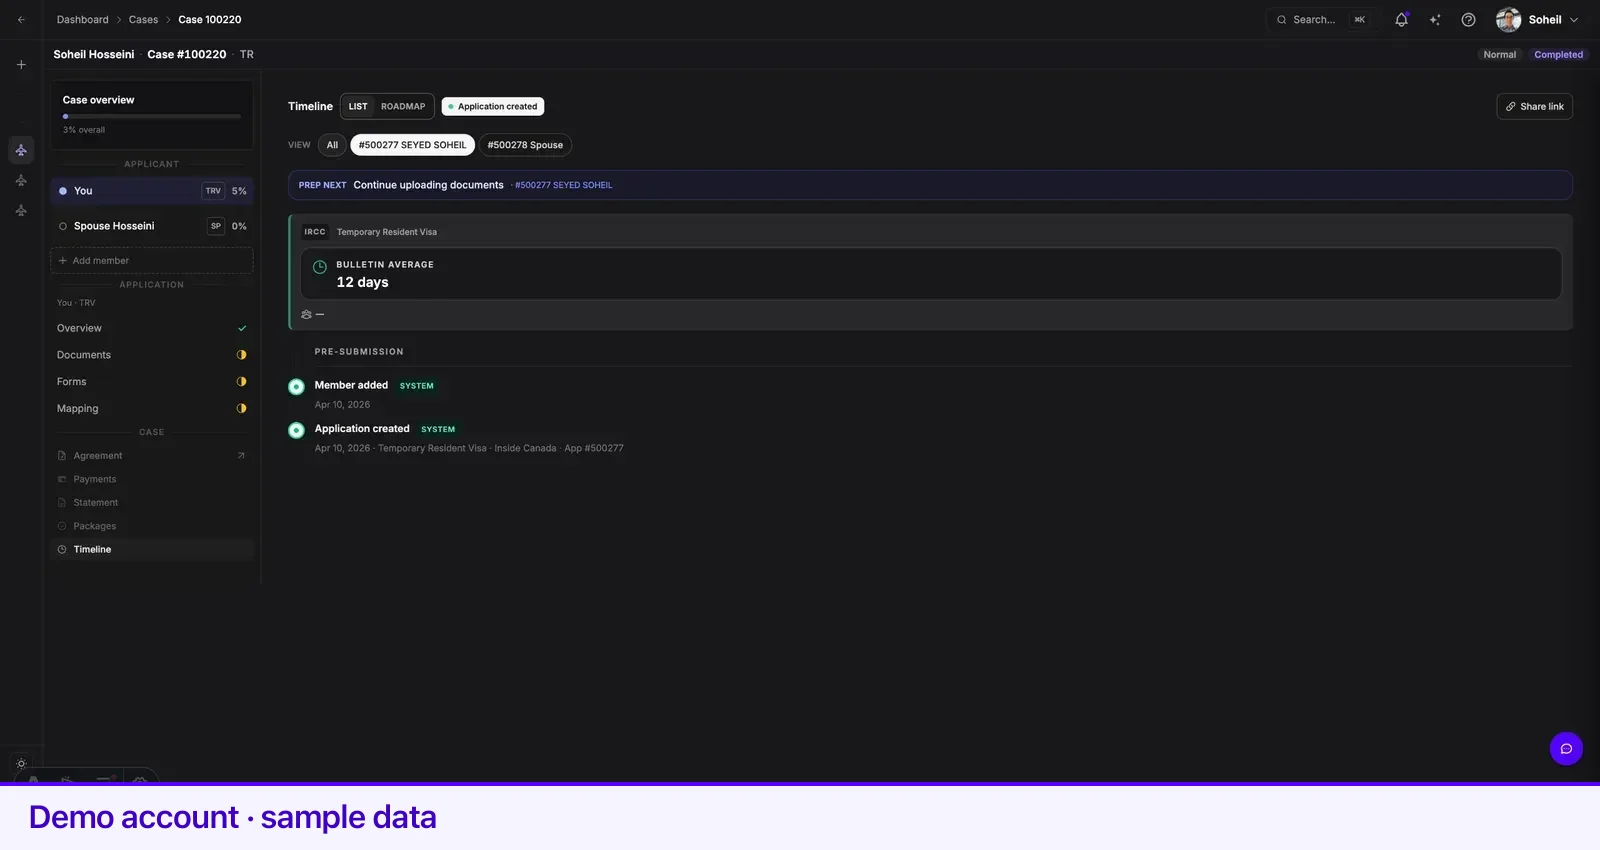
Where processing times and an estimated completion date appear, they are shown here too.
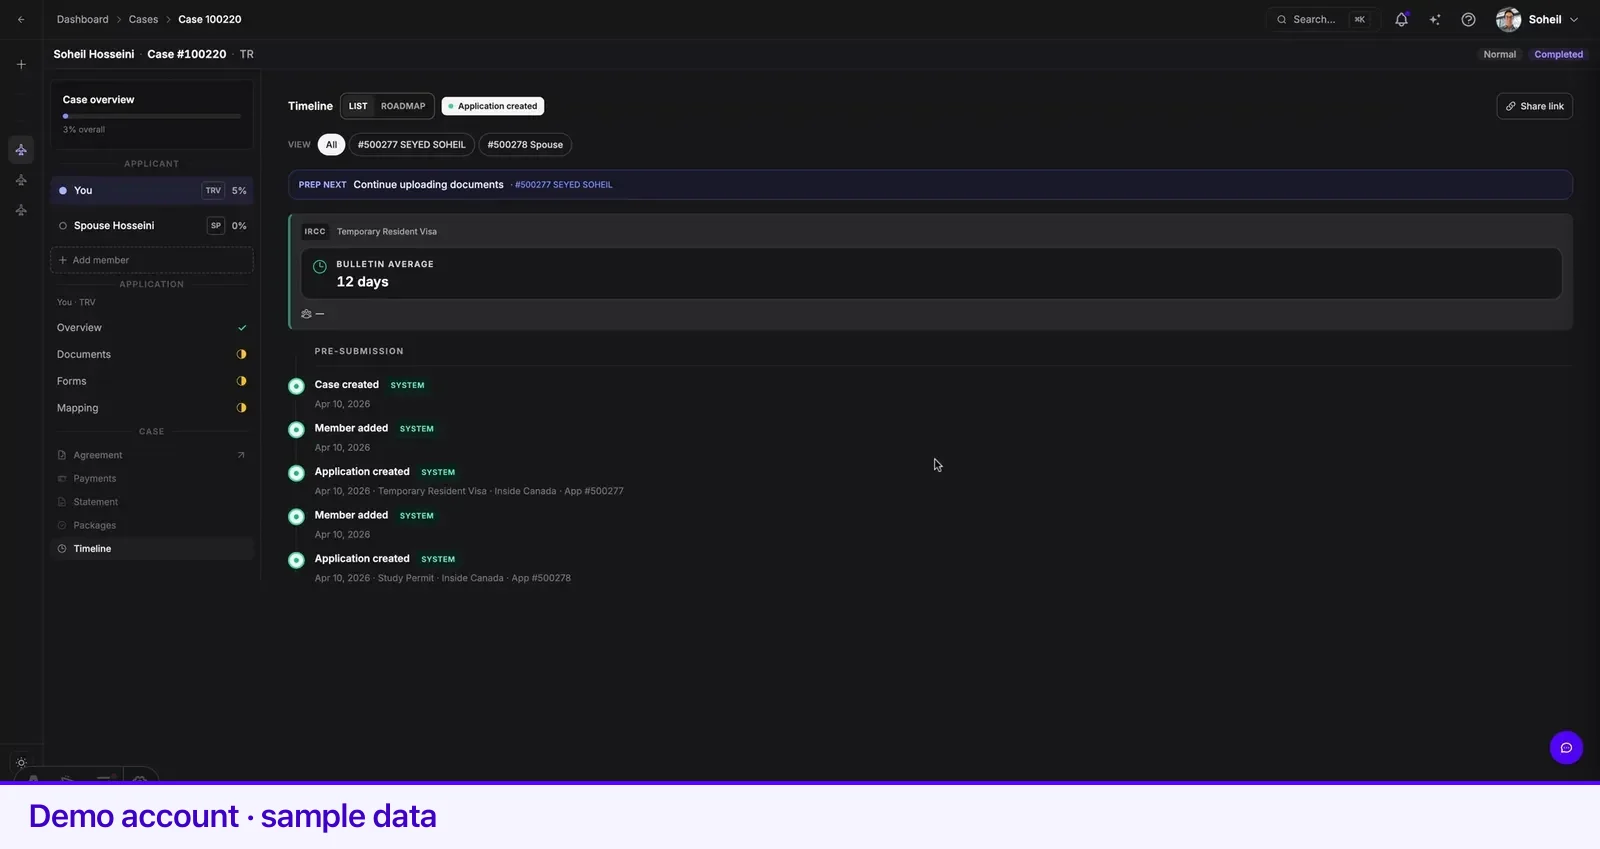
Full detail: Case timeline.
Share a timeline
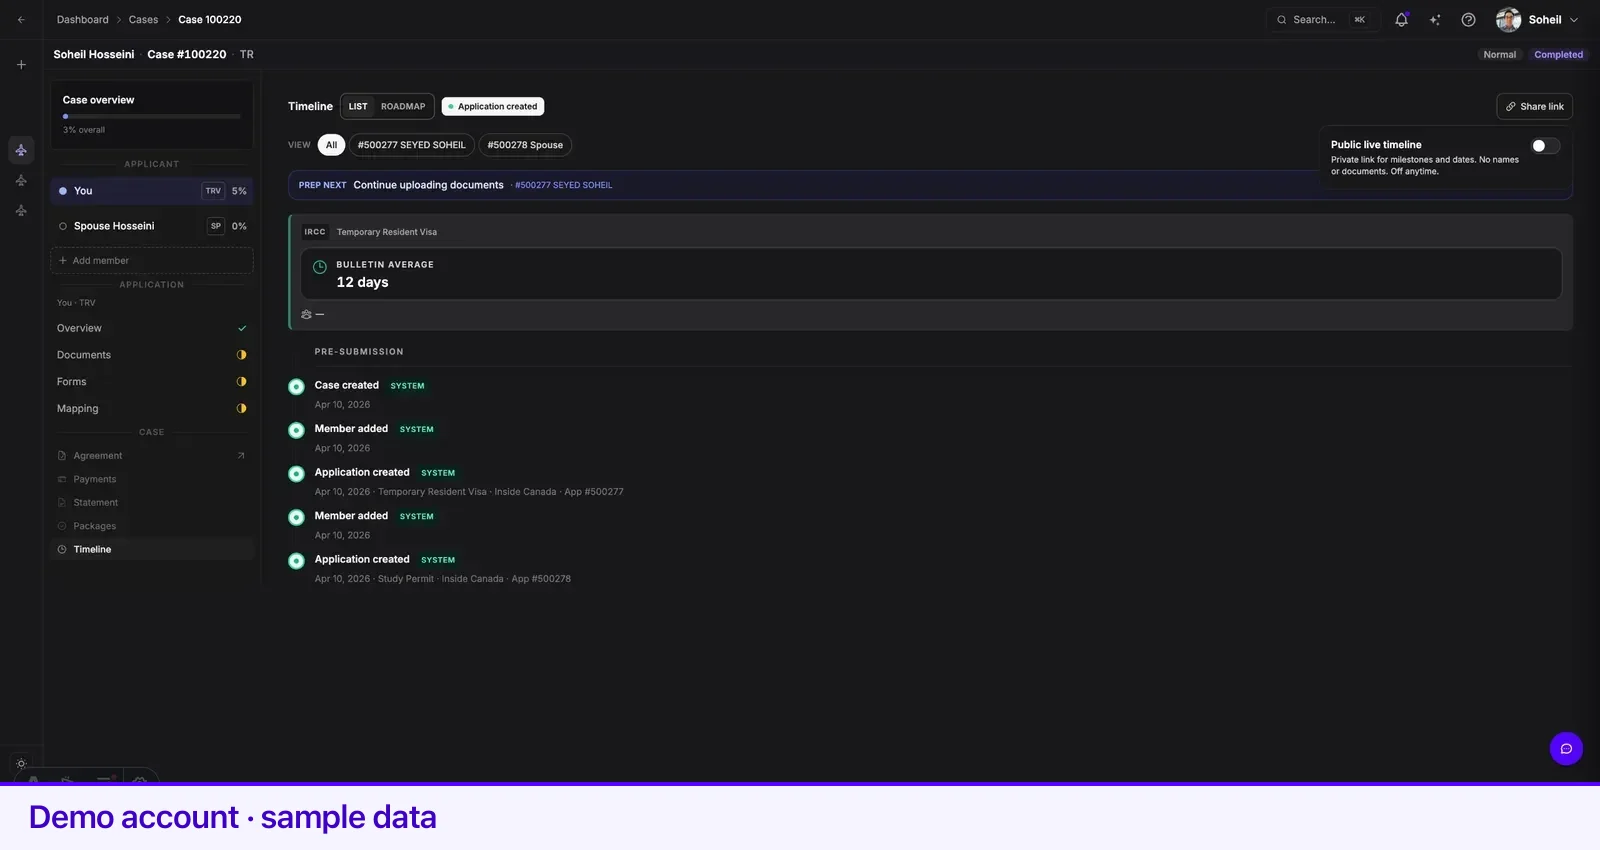
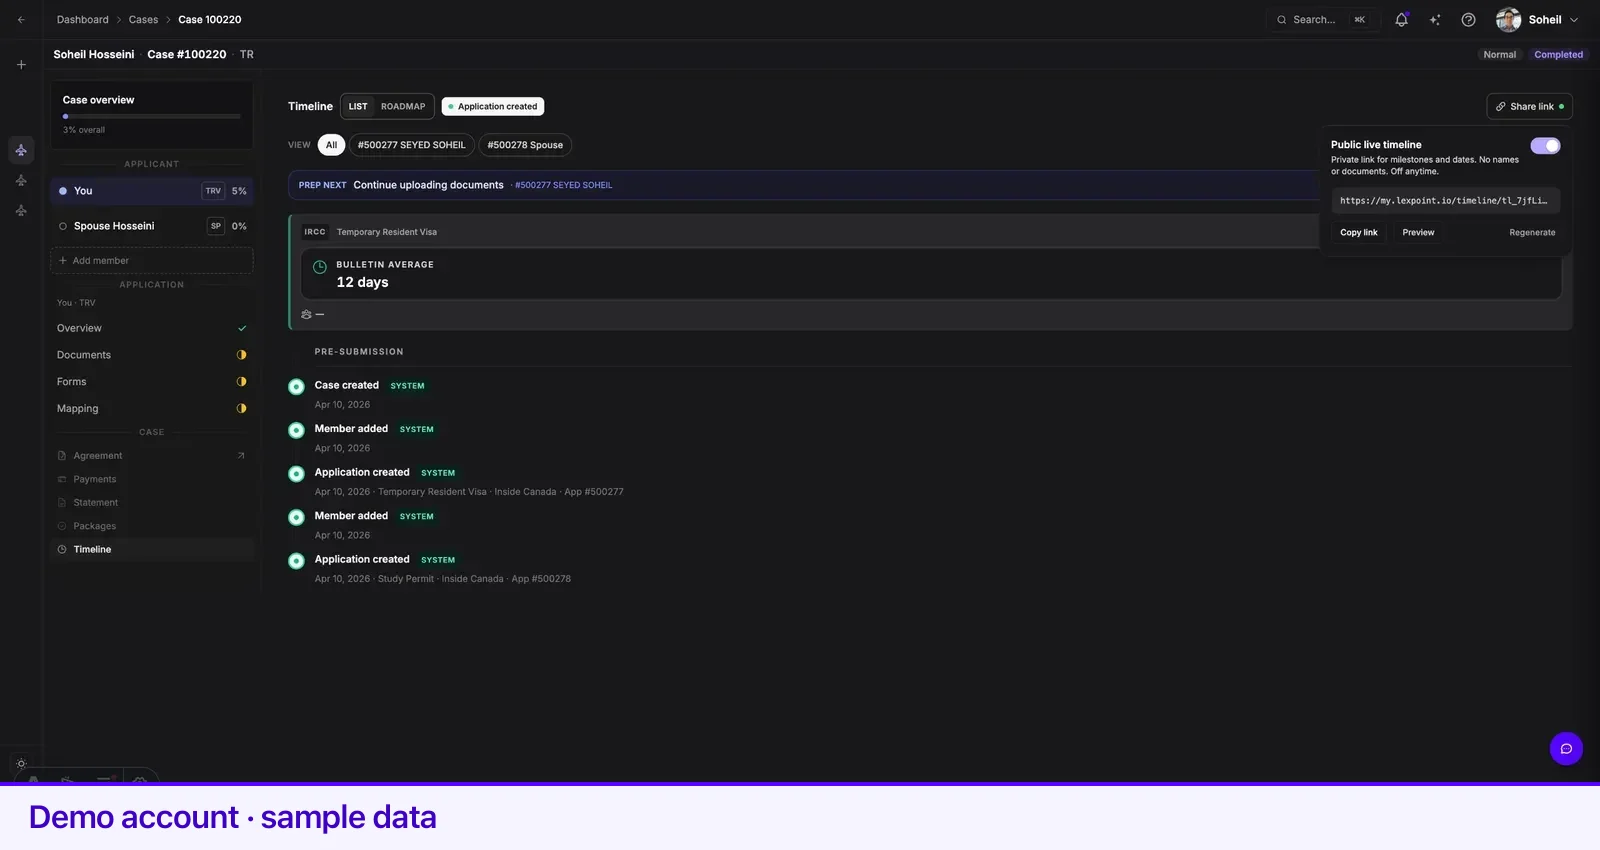
Section titled “Share a timeline”Share link turns your case timeline into a link you can send to family or friends. It carries milestones and dates — no names, no documents. Preview it before you send it, and switch it off whenever you want; that takes effect straight away.
Your account menu
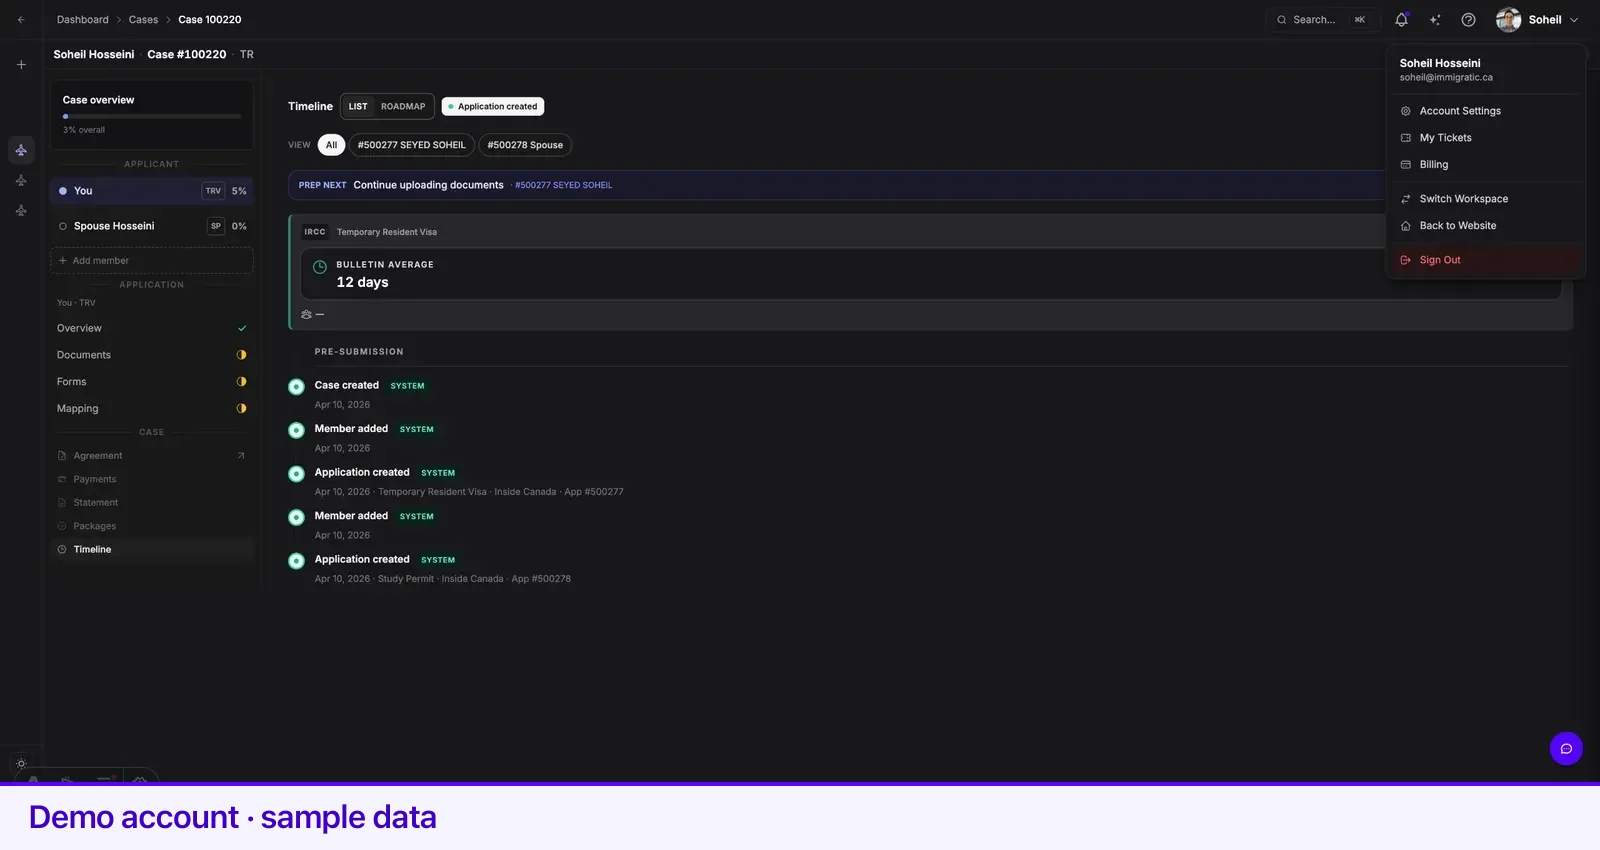
Section titled “Your account menu”Your profile menu sits in the top right, and sign-out is there.
Related
Section titled “Related”- Case Studio tour — the same screen described by its parts
- Requirements and checklists — how the work on a case is set out
- Messages on a case — reaching your representative in context